This post may contain affiliate links. Please read our disclosure policy.
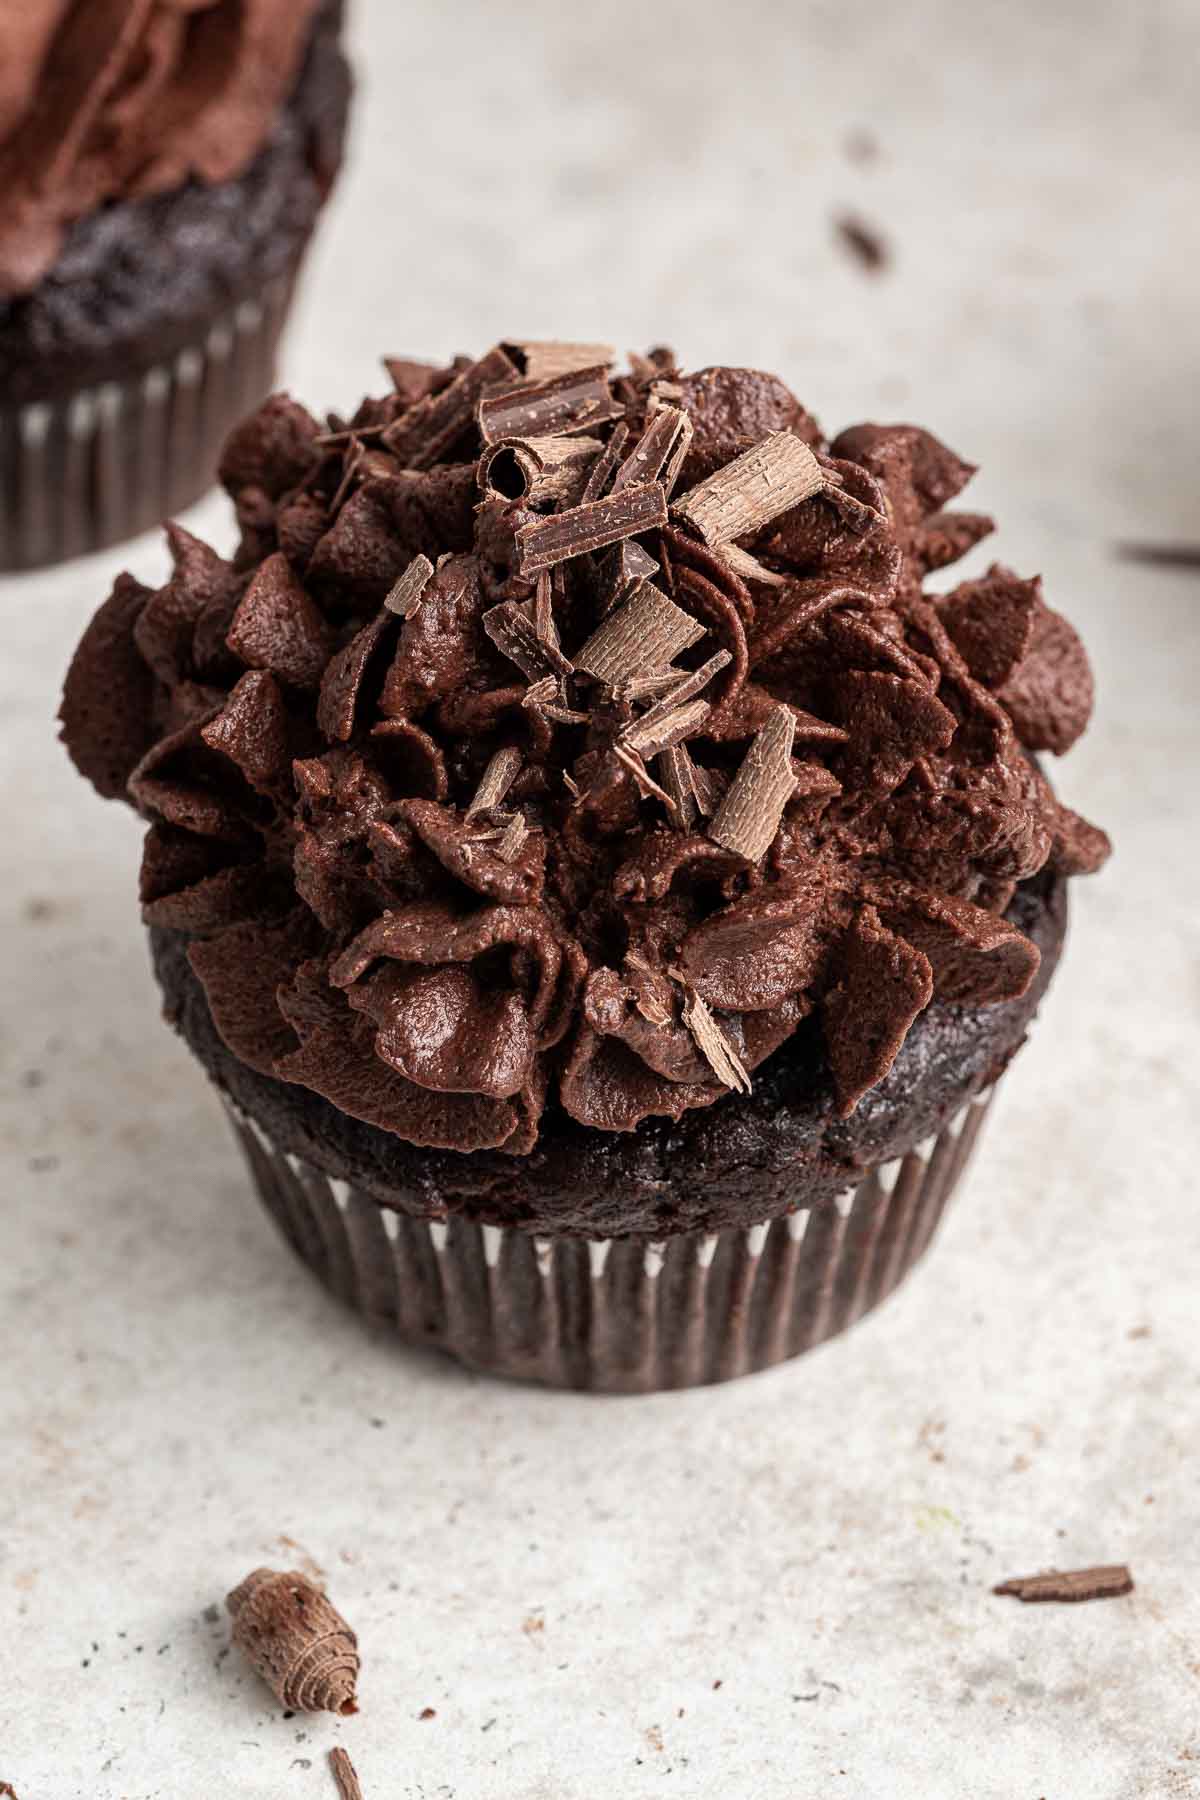
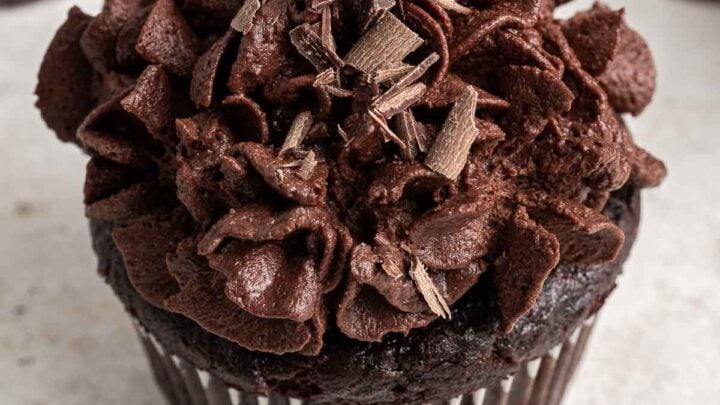
If you love chocolate, this recipe needs to be in your kitchen collection. Once you make my Chocolate Whipped Cream with pieces of shaved chocolate folded in, you’ll never go back. It’s heavenly when piped on cupcakes, plopped on top of hot cocoa or spread on top of any layer cake. You can even pipe it in a cup and serve it like mousse!
I often hear from friends (and readers) that regular buttercream is just too sweet. It’s heavy, dense and overly sweet to a point where you just eat the cake after scraping off some of the frosting.
I tend to agree most of the time, unless it’s my chocolate buttercream, where I rely on a splash of heavy cream to make it lighter and fluffier. I do the same thing with my vanilla buttercream frosting when I use it for my small batch vanilla cupcakes.
Because the whipped cream in these buttercream frostings created a light fluffiness, I thought about how fluffy a cake would be with an all whipped cream frosting. Heavy cream makes a light, ethereal frosting that packs just as much flavor as a buttercream! We know this from my whipped cream cream cheese frosting recipe, don’t we?
The cocoa powder and chocolate shavings make this recipe just as rich as a standard buttercream, without going overboard on the sweetness.
How to Make Chocolate Whipped Cream
Making flavored whipped cream as a frosting is even easier than making buttercream, because you don’t have to worry about the temperature of the butter being too cold or too warm. The only thing to remember here is that very cold whipping cream whips up faster and fluffier, so do not take it out of the fridge until just before whipping.
An additional step I like to do is to place my bowl and beaters in the freezer for about 15 minutes before making this chocolate whipped cream. It’s optional, but it really reduces the whipping time. Be careful not to over-whip and make butter. If your frosting curdles, you may have gone too far. Also, please know that the chocolate shavings are totally optional here.
The Ingredients
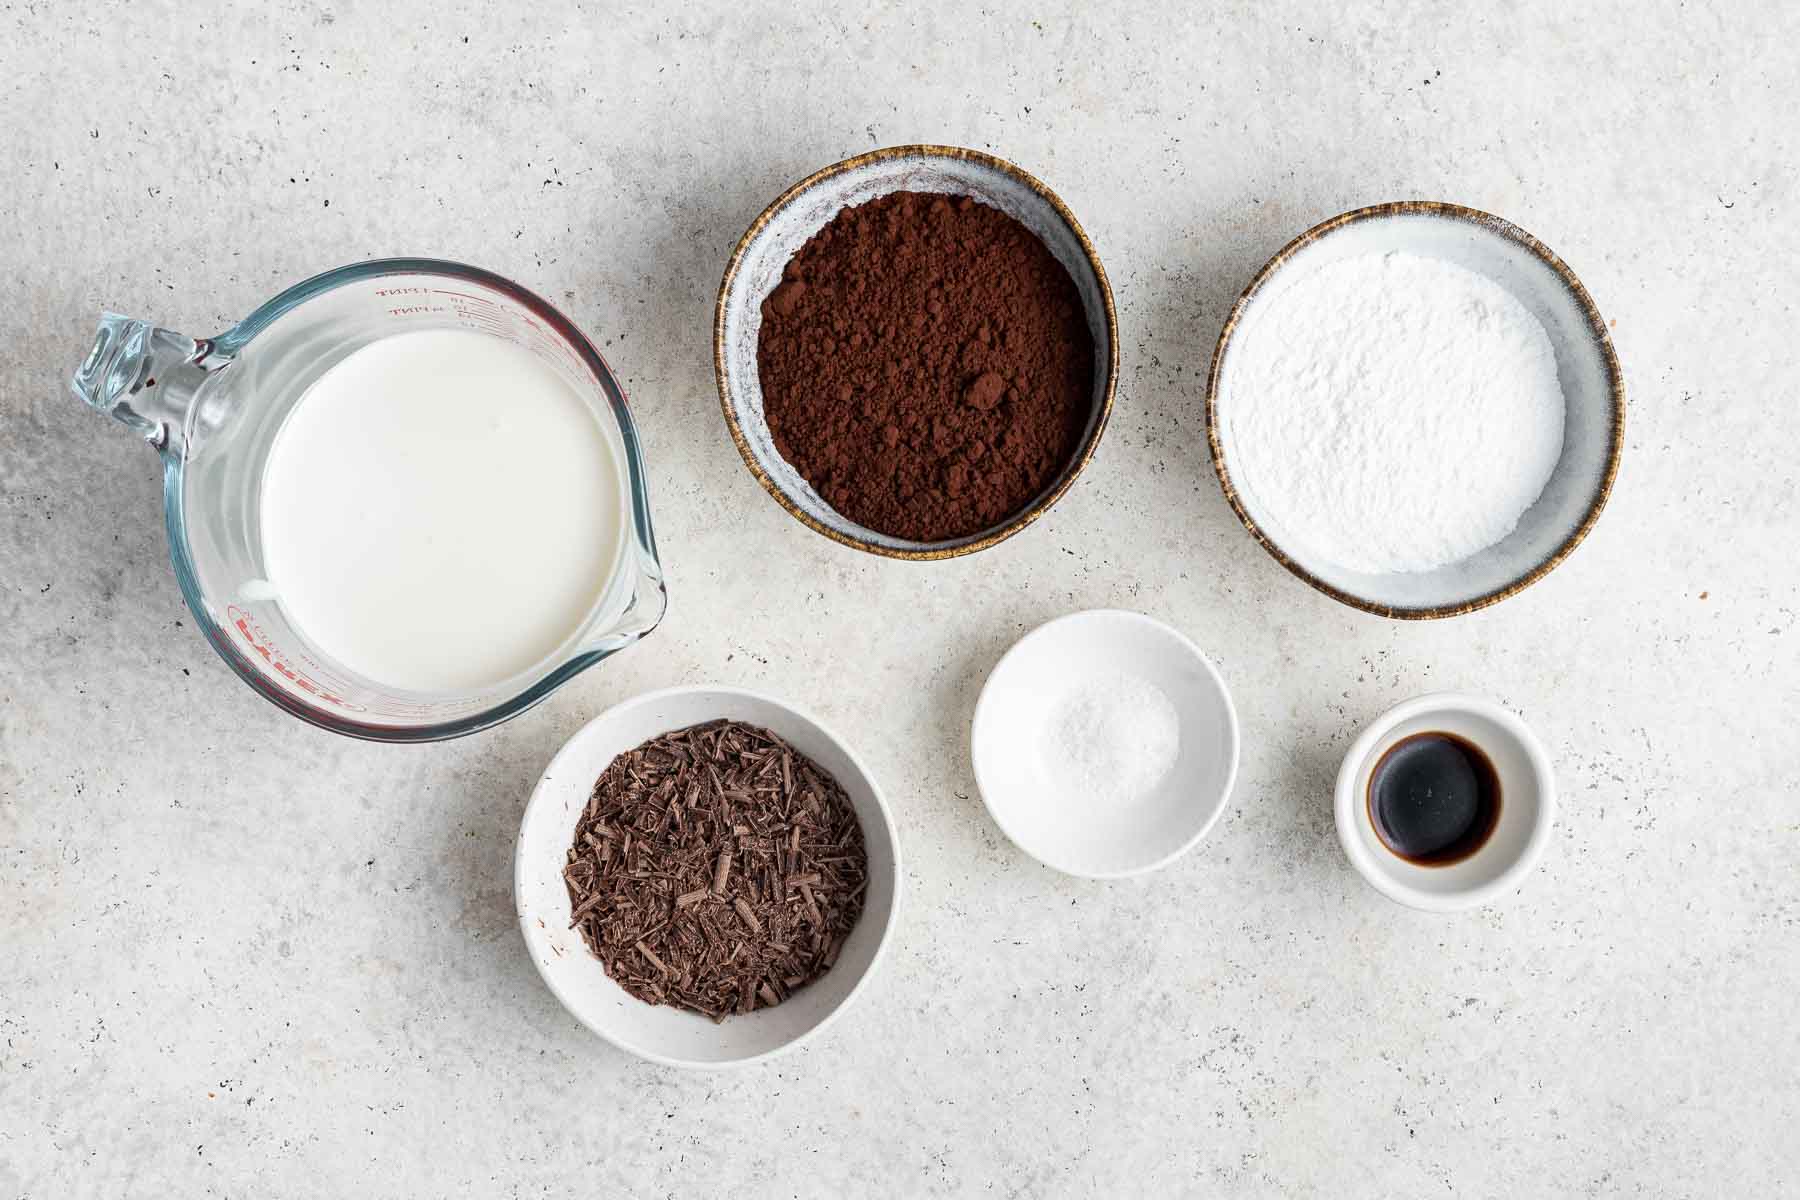
- Heavy Whipping Cream. Also called double cream, heavy whipping cream is between 36-40%. Anything with a lower percentage of fat won’t whip up, so don’t try to use half and half.
- Powdered Sugar. I use powdered sugar in all of my frosting because it dissolves so easily without leaving behind any graininess. Also, it contains a small amount of cornstarch, which acts as a stabilizer for this chocolate whipped cream. Read below for more methods to stabilize.
- Cocoa Powder. Since we’re not baking the cocoa powder, we can use any type you have in the pantry! It needs to be unsweetened, however. If you want dark, richly colored chocolate whipped cream like you see in the photos here, reach for Dutch process cocoa powder. If you just have plain or regular cocoa, that works just fine, too!
- Salt. A small pinch of salt really elevates the flavor of chocolate, so please don’t skip it. Use fine sea salt so that it dissolves fully.
- Vanilla Extract. Try to use real, pure vanilla extract for this recipe, because again, we’re not cooking it, so the flavor will really shine.
- Bittersweet Chocolate. Adding 2 ounces of finely shaved chocolate to this chocolate whipped cream takes it to a whole new level, but please know that it’s also optional. You can use a vegetable peeler to shave it or grind it in the food processor. The chunks of chocolate might make it particularly hard to pipe the frosting if you use a small piping tip, so keep that in mind.
The Instructions


For the fastest whipped cream, I really recommend placing the bowl and beaters in the freezer for 15-20 minutes before making this recipe. Cold cream whips faster and fluffier, try it!
Into your very cold bowl, add the heavy cream, powdered sugar and cocoa powder. Using the electric mixer, beat on high speed until soft, fluffy peaks form, about 3 minutes. Do not overbeat it to stiff peaks or clumpy cream!
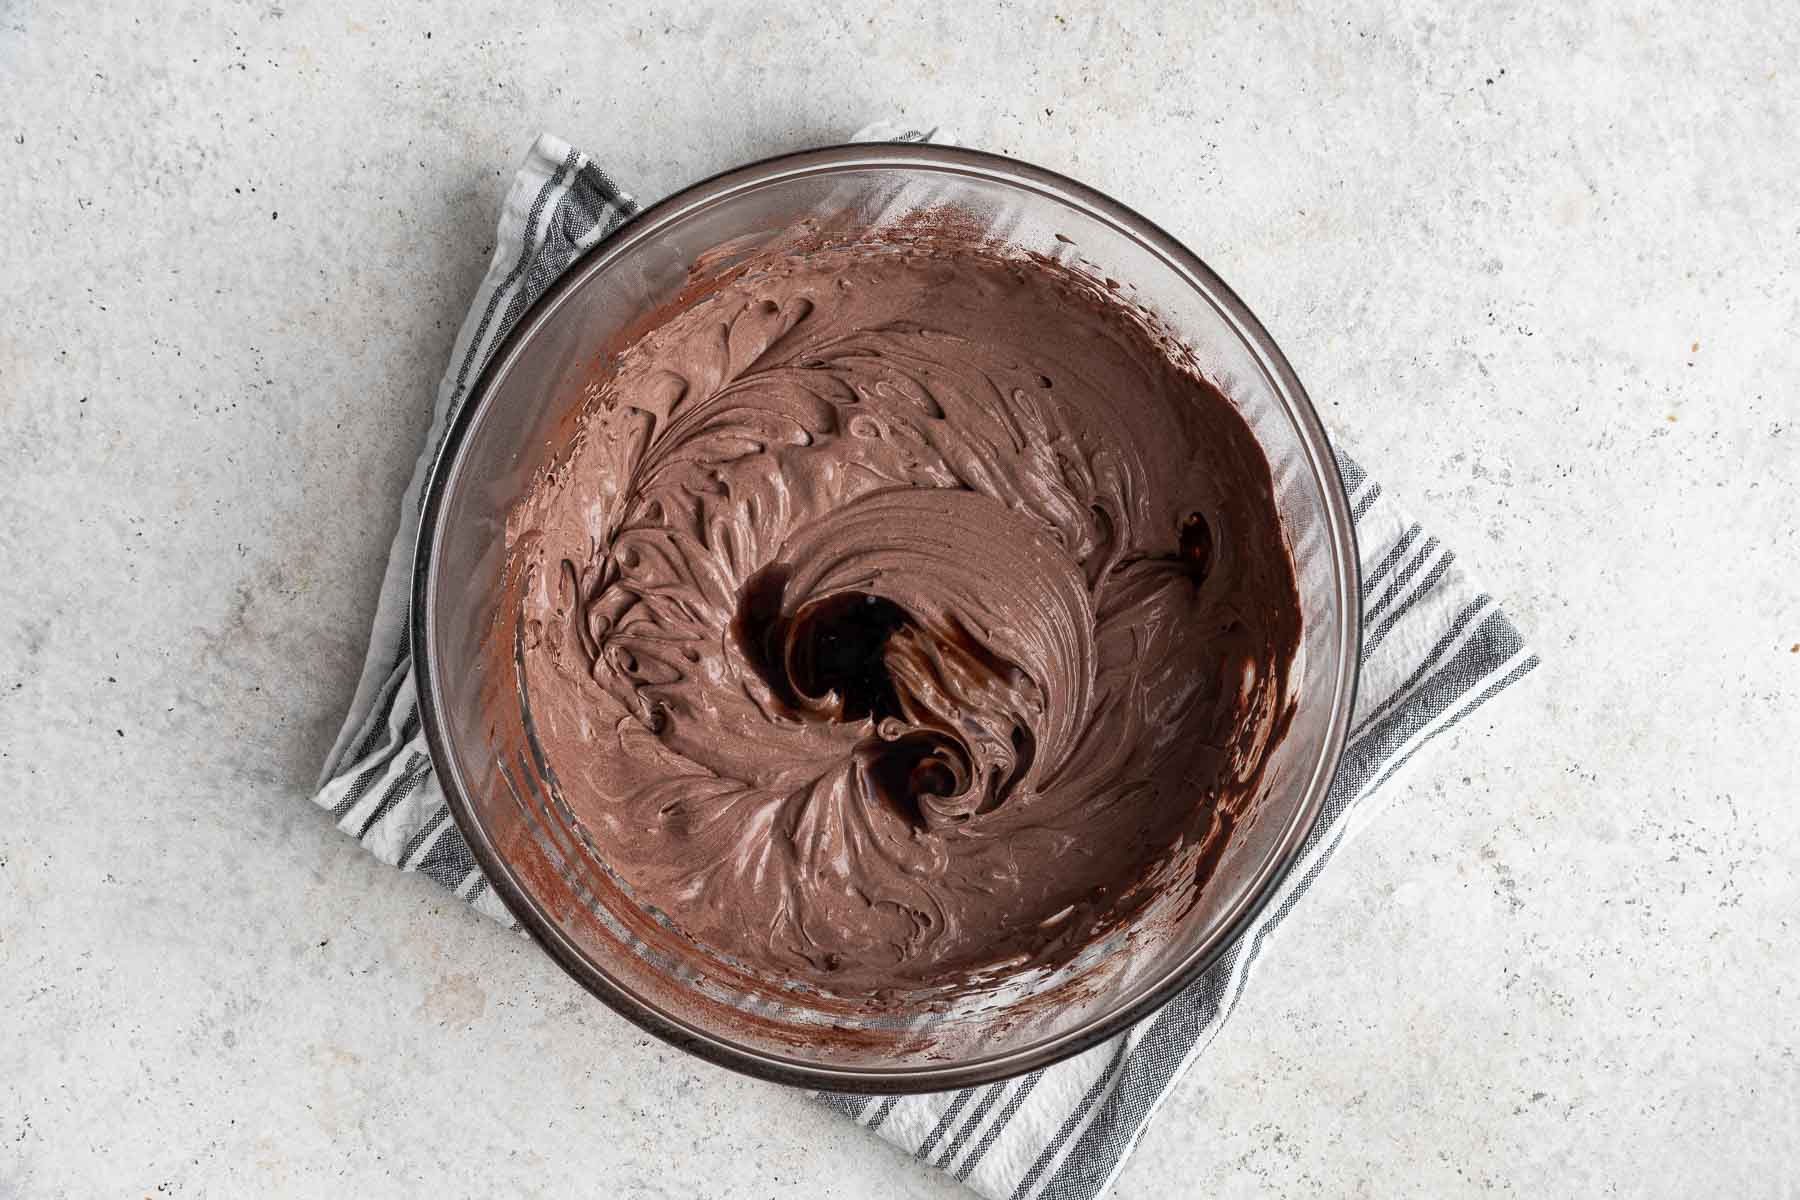
Stop the mixer, and add the vanilla extract. Beat again on high to combine everything, and keep an eye on it. It’s done when it’s light and fluffy and the mixture holds the marks of the beater when removed (see next photo).
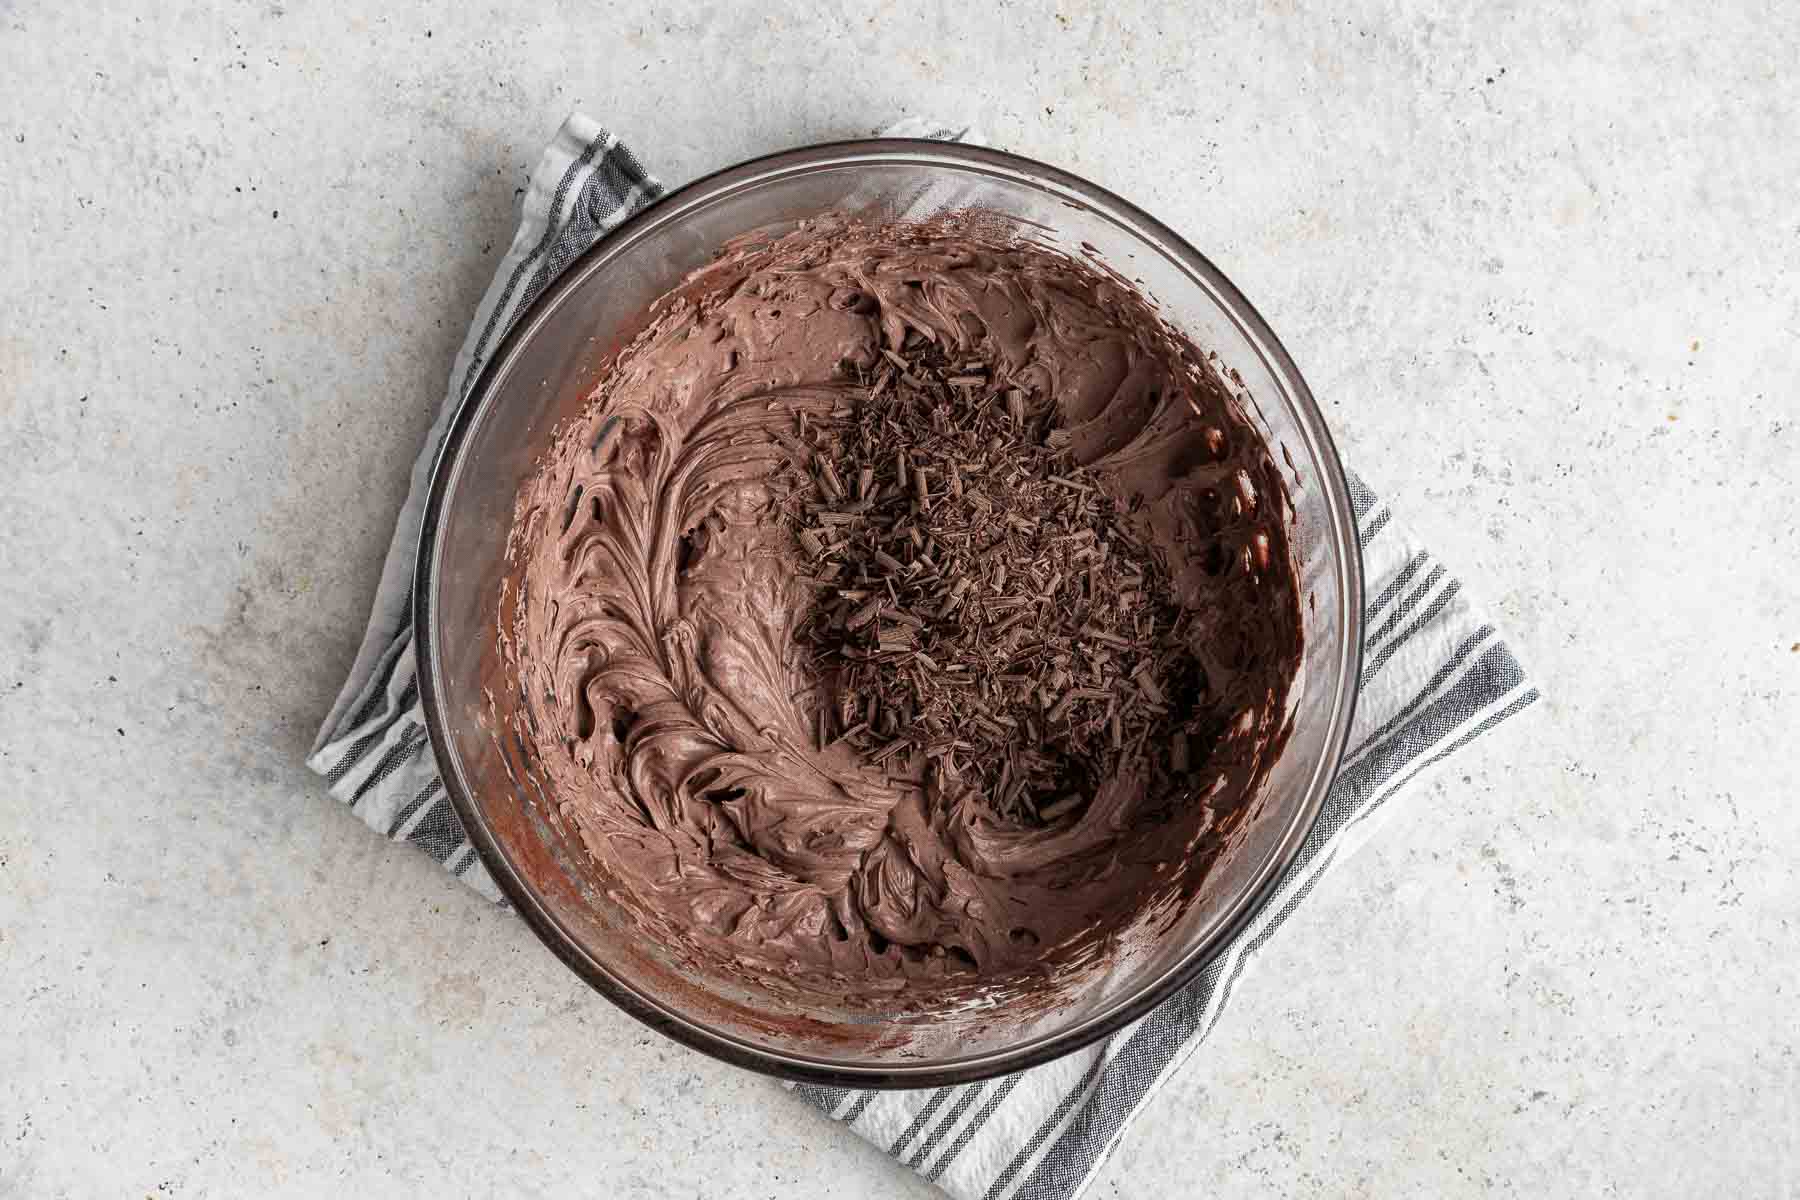
Finally, add the shaved chocolate pieces that you shredded with a vegetable peeler or ground in a food processor. Stir them in gently, being careful not to deflate the mixture.
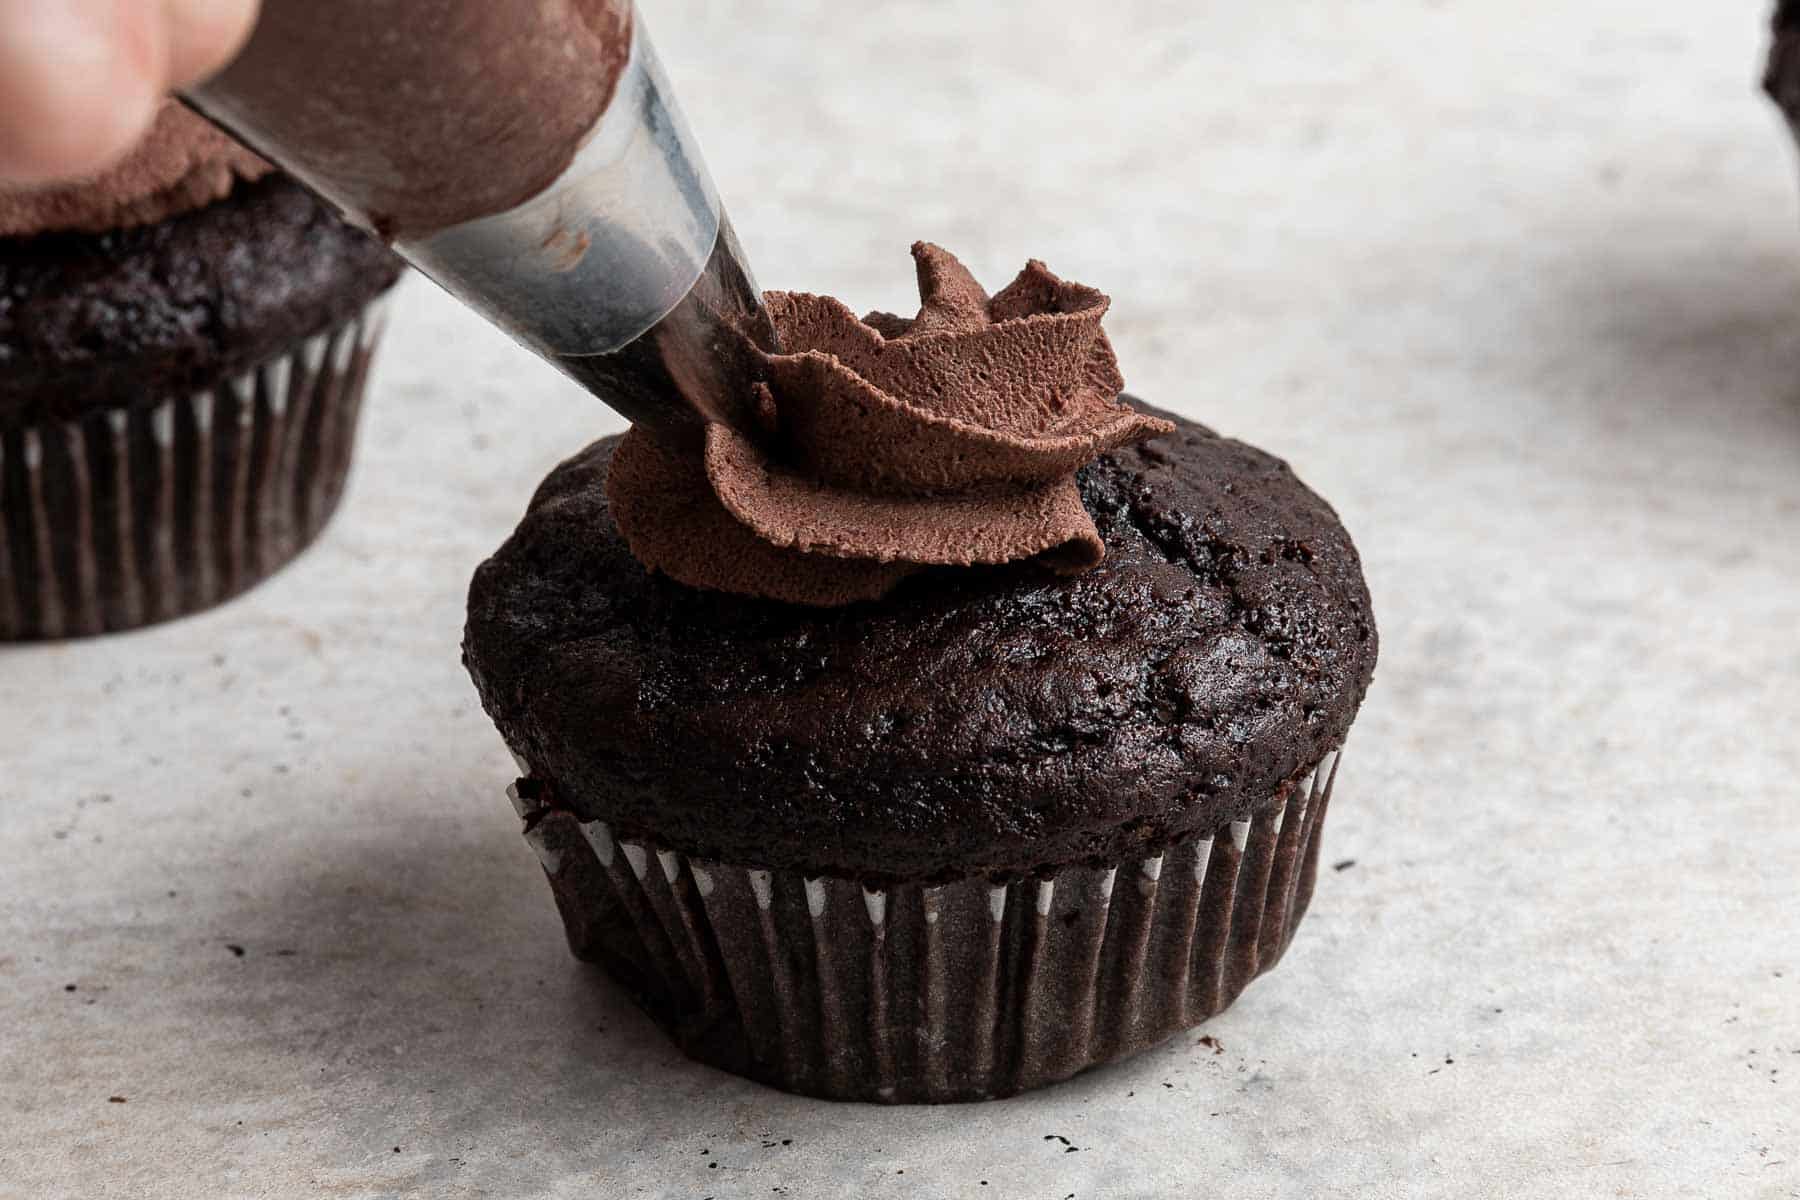
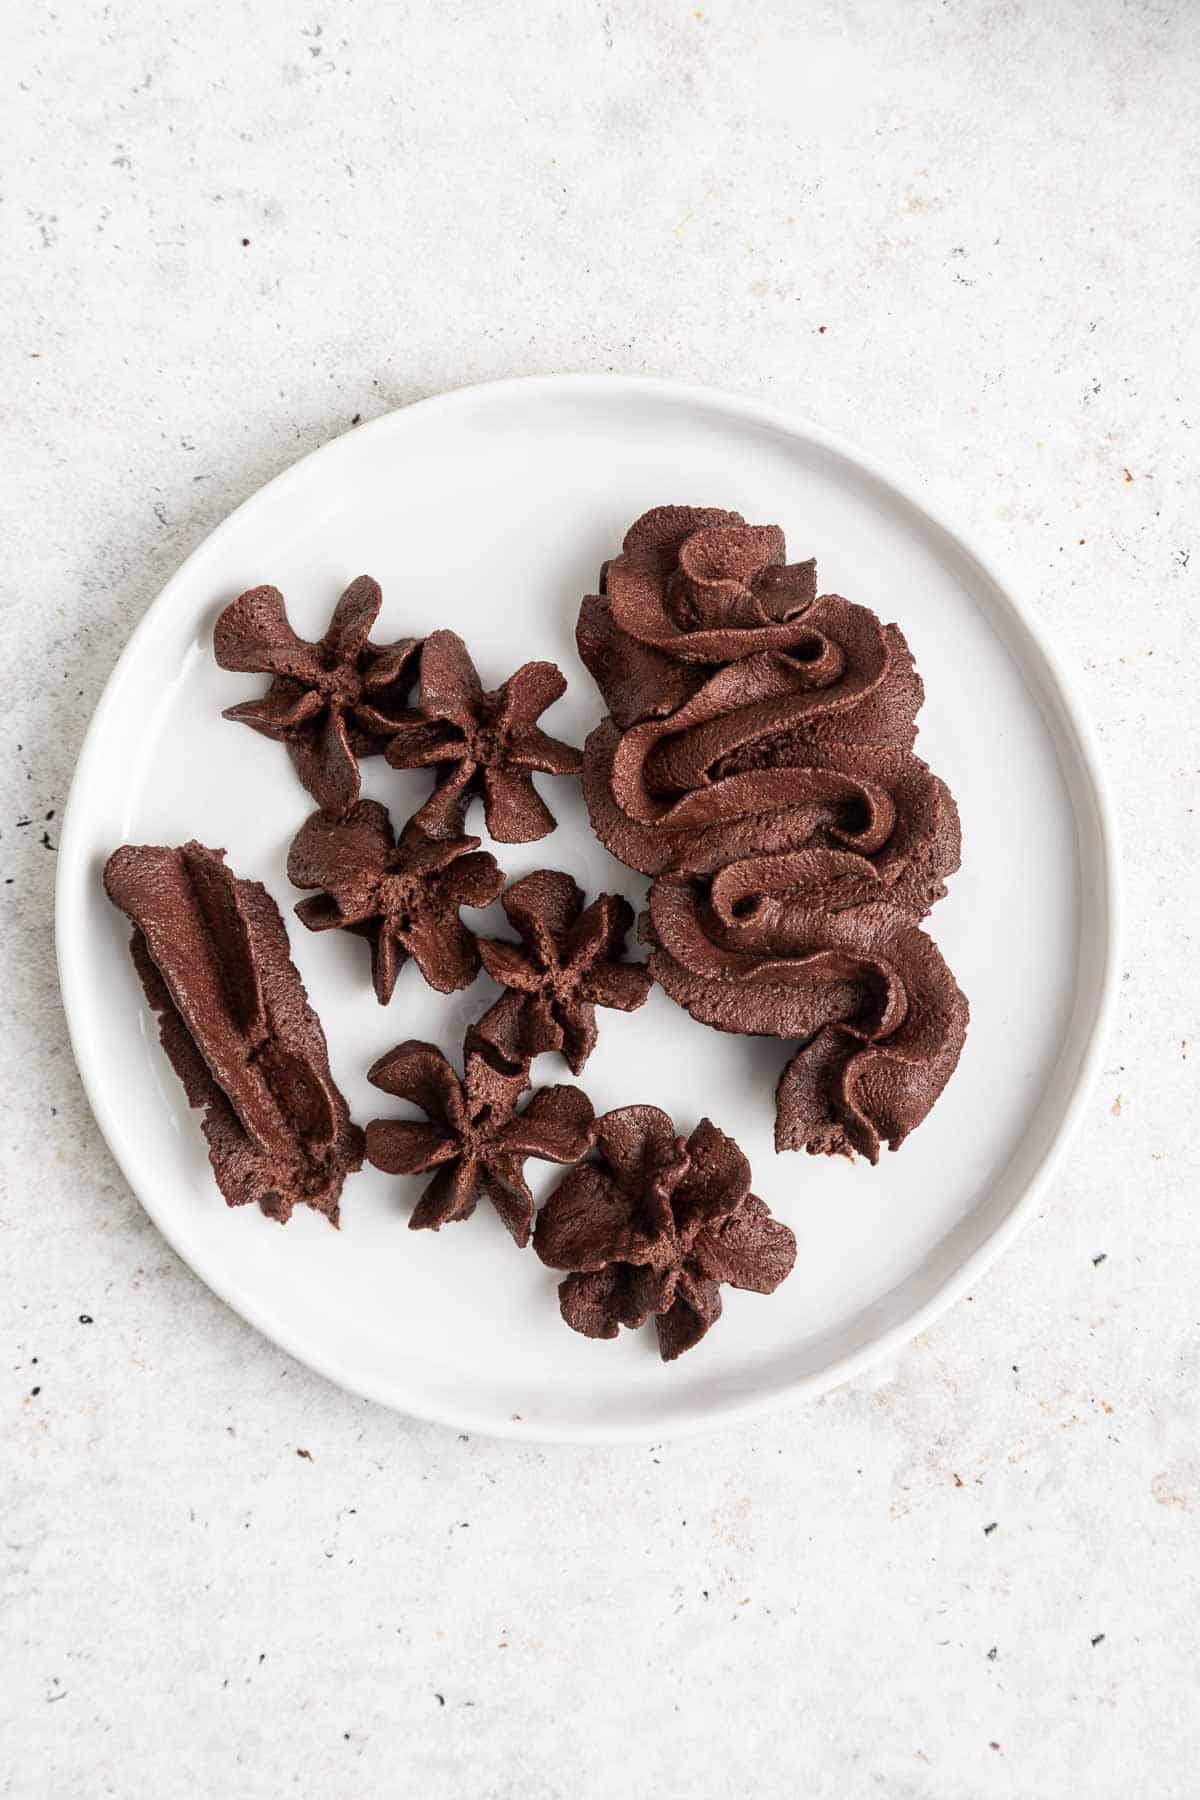
If you plan to pipe this chocolate whipped cream using a piping tip, be aware that the chocolate shaving pieces may clog a small tip. Try using a large open star tip for piping to get the best results.
Speaking of open star tips, my marshmallow frosting is so pretty on a cupcake like this, too!
FAQ: Chocolate Whipped Cream
Whipped cream is essentially aerated fat (sorry), and the best way to hold the bubbles and air into a fat is to keep it cold. Think about frozen ice cream versus melted ice cream. If your cream won’t whip, try placing the bowl and beaters in the freezer for 10 minutes, and trying again. On the flip side, if you’ve over whipped your cream and it’s a chunky mess that looks more like butter, drizzle in a bit more cold heavy cream and beat until fluffy again.
The best way to turn whipped cream into chocolate whipped cream is to use cocoa powder and shaved chocolate. Alternately, you can drizzle in a bit of melted chocolate into freshly whipped plain cream, but please be aware that the hot chocolate can melt and deflate the cold whipped cream. Drizzle it slowly and continue mixing while drizzling.
The drastic temperature difference between hot melted chocolate and cold whipped cream can cause the entire thing to melt into a soupy mess, not unlike melted ice cream. The safest way is to use cocoa powder instead of melted chocolate. However, if you must use melted chocolate, go very slowly and continue mixing with the electric mixer as you go. Then, you’ll need to refrigerate briefly before using to firm it up.
If your mixture isn’t thickening into medium peaks that hold their shape, your mixture might be too warm. Place it in the freezer (beaters included), and then try again in 15 minutes. Please note that if you over-beat cream, it literally turns into butter, so be careful. If this happens to you, drizzle in fresh un-beaten cold cream and keep mixing to fix it.
If you’re wanting to pipe this chocolate whipped cream onto a cake (like my mini chocolate cake), you probably want it to be slightly stabilized and not melt as easily at room temperature. The best way to do this is to sprinkle 1 tablespoon of unflavored gelatin powder on top of the cold cream before mixing. It really needs to be added to the mixture before it is beaten. If you don’t add it in the beginning, it will not fully dissolve once the cream has been whipped. Add the gelatin at the same time as the powdered sugar for maximum benefits.
Chocolate Whipped Cream
Fluffy and super rich chocolate whipped cream for piping on cupcakes, cakes or even hot cocoa.
Ingredients
- 1 cup heavy whipping cream (very cold)
- 1/2 cup powdered sugar
- 1/2 cup cocoa powder*
- 1/2 teaspoon fine sea salt
- 1 teaspoon vanilla extract
- 2 ounces semisweet chocolate, shaved with a vegetable peeler or finely ground in a food processor
Instructions
- Place a glass bowl and the beaters to your electric mixer in the freezer and let chill for 15-20 minutes.
- Then, add the cream, powdered sugar, cocoa powder and salt to the bowl. Beat until soft peaks form, about 3 minutes.
- Add the vanilla and beat until fluffy and combined. Continue to beat until the chocolate whipped cream is fluffy, makes soft peaks and slightly holds its shape. The beaters will also leave lines in the cream that will stay. However, be careful not to over-beat or it turns into butter. See trouble shooting tips below if this happens to you.
- Just before serving, stir in the very finely shaved chocolate pieces. You can use this on cupcakes, cakes or hot cocoa.
Notes
*Cocoa Powder: Any type of unsweetened cocoa powder works here, but Dutch process cocoa will give this the darkest color.
Stabilize: To stabliize this, sprinkle 1 tablespoon of unflavored gelatin powder on top of the cold cream before mixing.
Nutrition Information:
Yield:
6Serving Size:
1Amount Per Serving: Calories: 250Total Fat: 18gSaturated Fat: 11gTrans Fat: 0gUnsaturated Fat: 5gCholesterol: 47mgSodium: 195mgCarbohydrates: 20gFiber: 2gSugar: 15gProtein: 3g


Absolutely delicious! I make whipped cream all the time and this recipe was so much more rich and chocolate than other recipes I’ve tried in the past. Thank you!